

Mix Your Own Henna
Making your own henna is easy, fun, and you can't beat the freshness! Once you’ve got the process nailed down, you’ll always get the best results when you mix it yourself since you can customize it exactly the way you like it. You choose: a thinner more liquidy paste, or something thicker that will hold it’s shape.
Also, did you know henna is super perishable? It only lasts a few days at room temperature. That’s why those premade cones on a store shelf or shipping overseas never work well. Who knows how long they've been sitting out? Plus, the additives can be dangerous - here’s our post about fake henna.
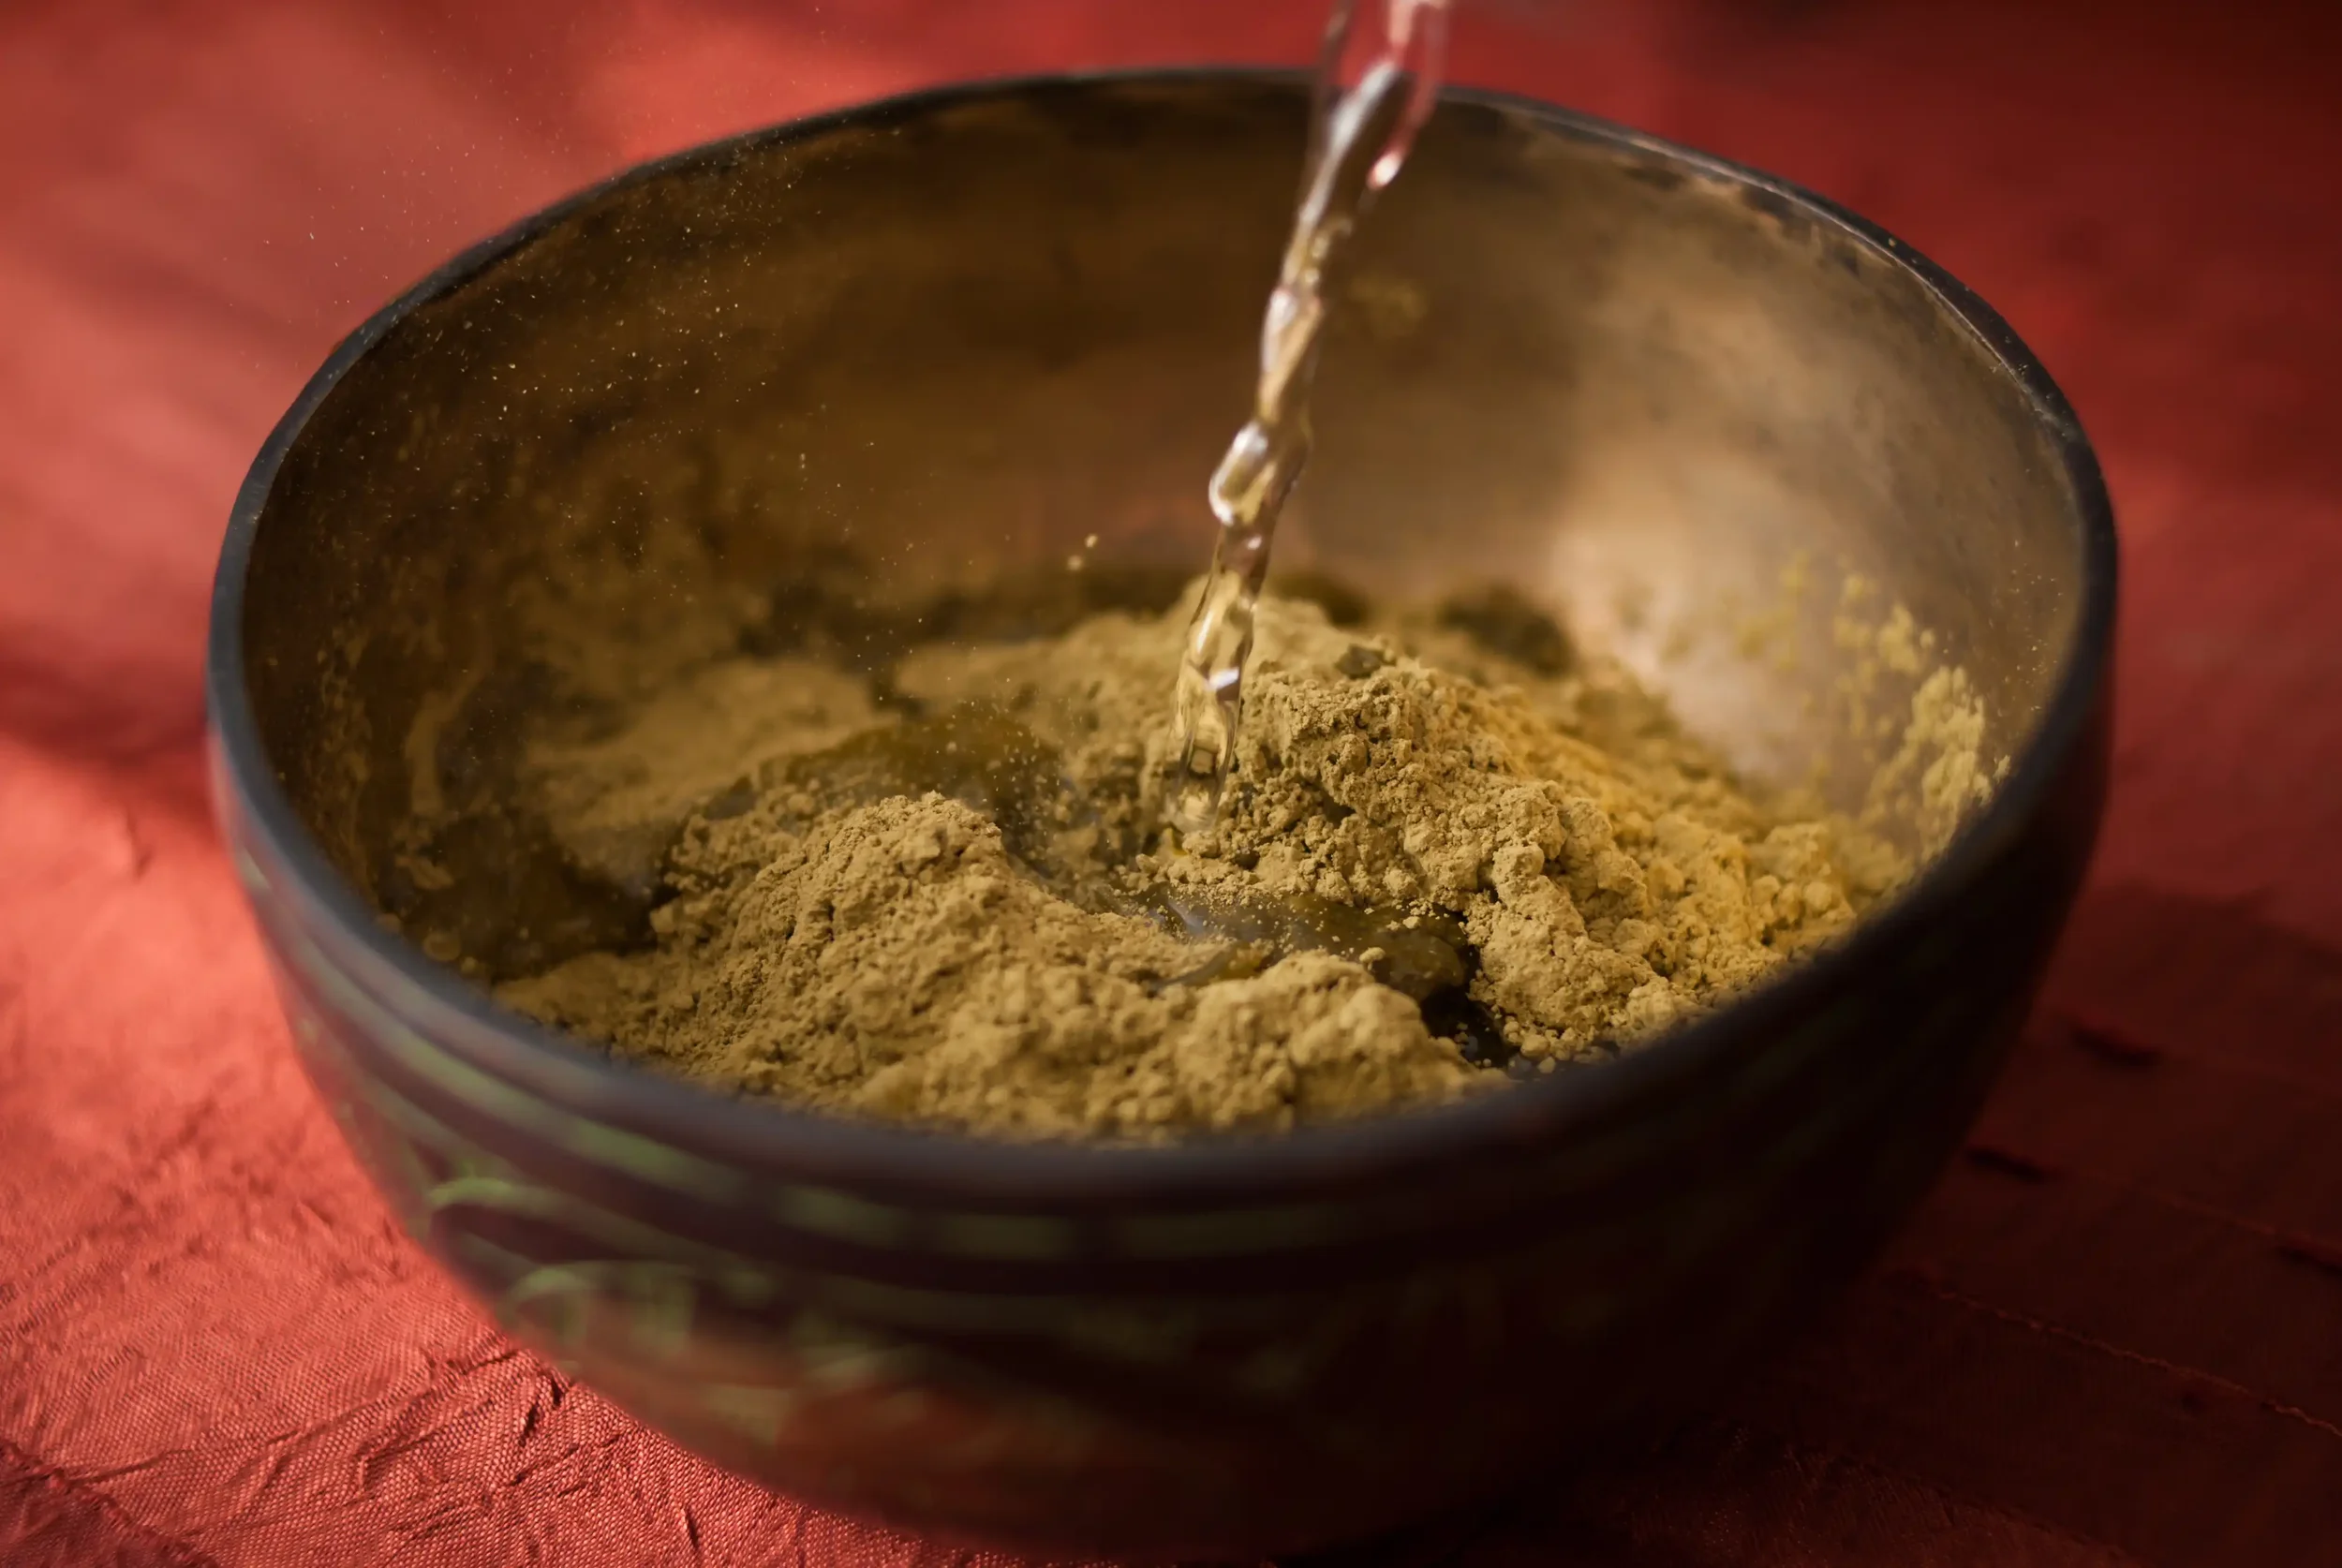
Why mix your own henna?
It’s customizable! Make it thinner, thicker - whatever you like. Choose your favorite scents!
It’s fresher. The fresher the henna, the longer it lasts.
It saves money. Mixing your own is only about 10% the cost of buying ready to use cones/bottles!
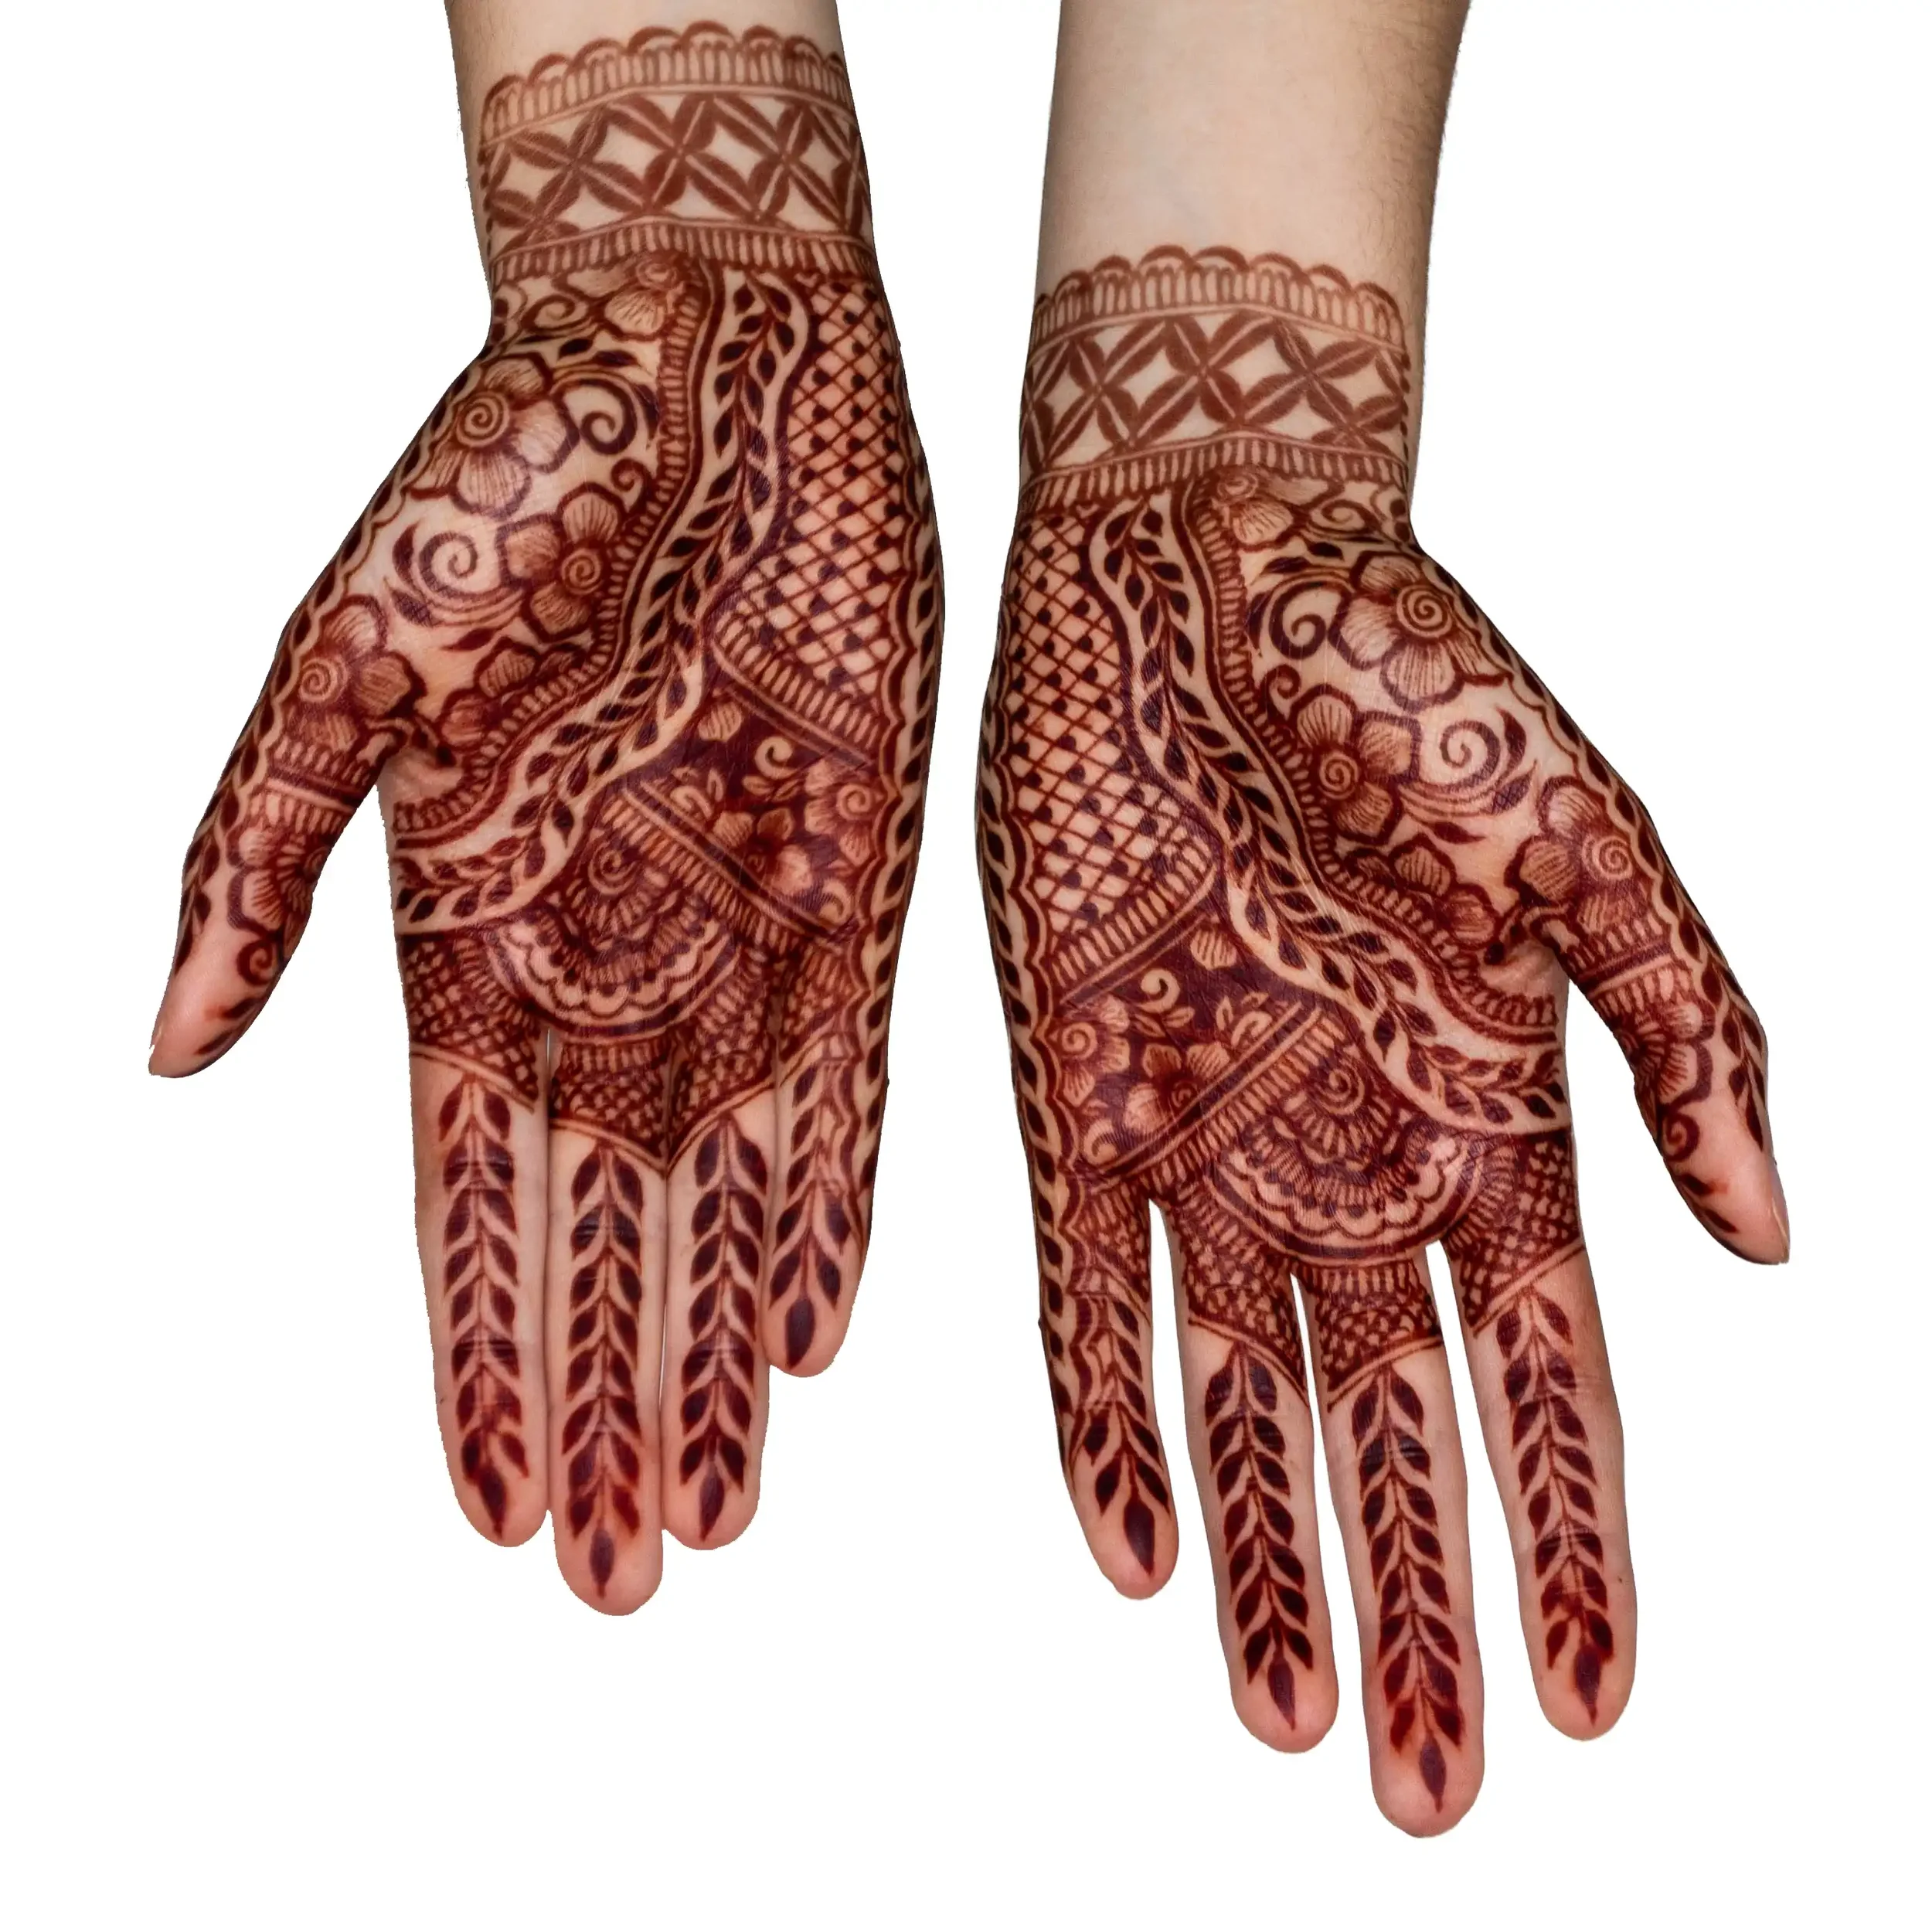
This is my tried-and-true simple, super easy henna recipe. It's the same recipe I use for my clients, and they get stains like these:
Materials
First, make sure you're starting with fresh, high quality ingredients. This is where people most often go wrong! I know it’s tempting to just grab the quick/cheap option, or try to make a substitution with what you have; but it does make a difference. When you buy from somewhere that’s not a specialty henna supplier, the products often aren’t stored properly and therefore will have poor results. Or, they might not be the right type for henna body art.
If you make a salad with old, wilted lettuce it’s not going to be the same as fresh, right?
If you want a deep, dark stain that’s long lasting; buy your supplies from an ICNHA-certified henna artist supplier (like us).
TOOLS
Bowl and spatula/spoon - FYI plastic, rubber & other porous materials may stain permanently
Water - Distilled or purified water is most reliable
Plastic wrap or plastic lid for the bowl
Henna transfer bag or plastic sandwich bag
Applicator - Rolled cones or squeeze bottles
Digital scale (recommended) - Needs to be able to measure to the gram
Digital thermometer (recommended)
INGREDIENTS
Body art quality henna powder - We use certified organic Sūraja brand
Essential oil - Use an oil with a high “terp” content
Sugar - White/raw table sugar works best. Brown sugar can cause unexpected results and is for experienced mixers only. Do not use powdered/confectioner’s sugar.
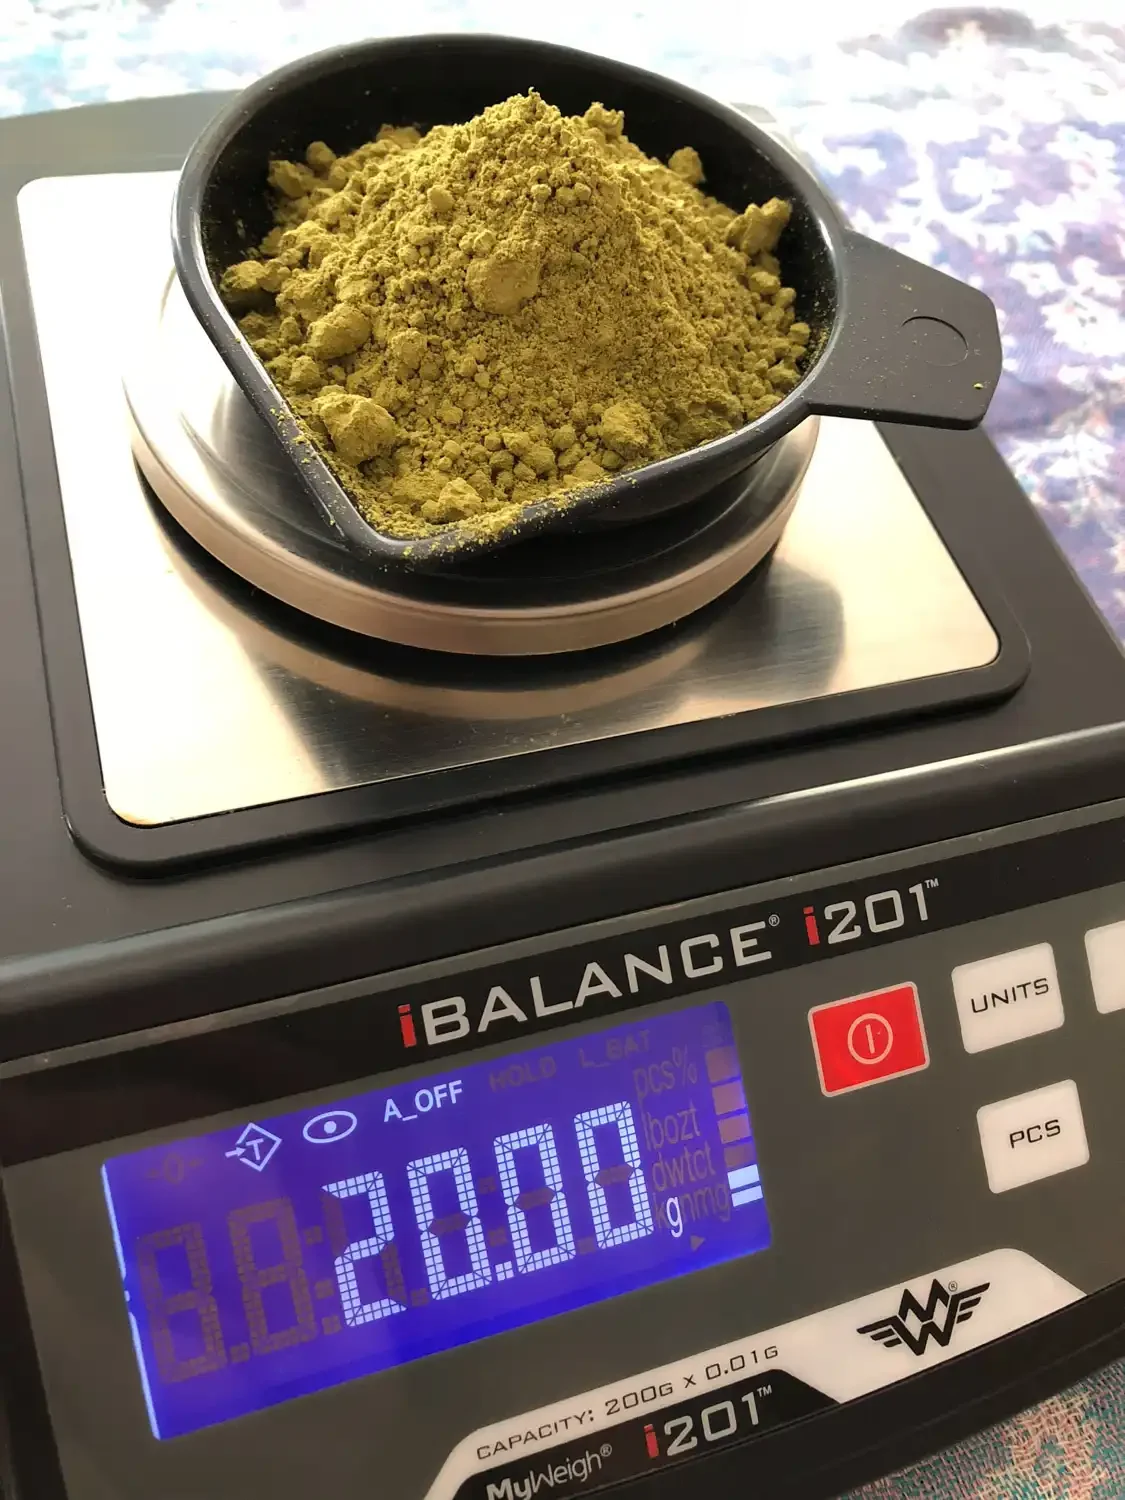
Use a scale to measure your ingredients by weight, if possible. Your results will be far more reliable!
Process
This recipe makes about 3.5 ounces of henna paste (about 7 applicator bottles or 4-5 of our hand rolled cones).
Step 1
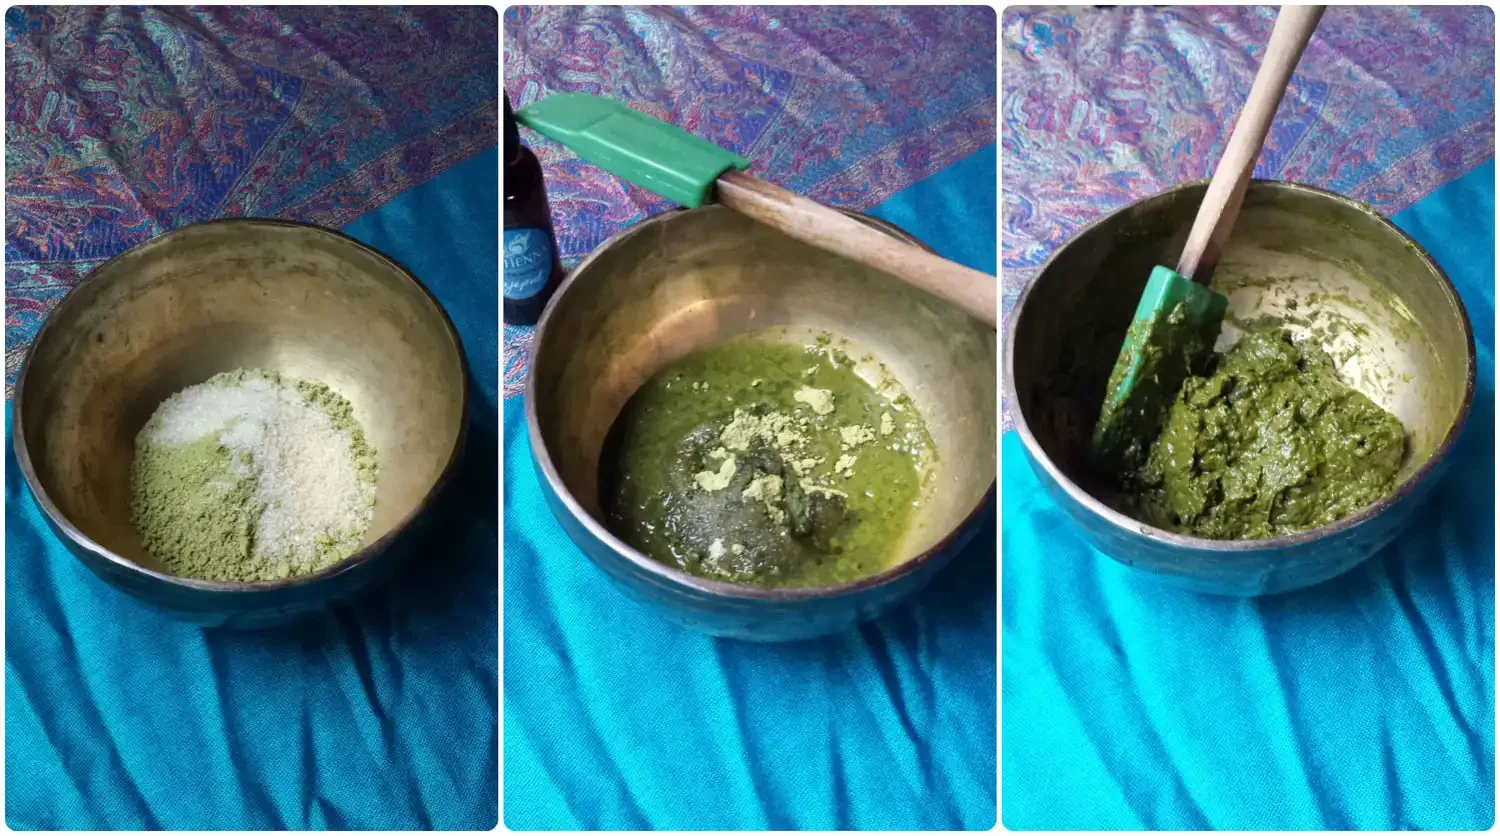
Add these to your bowl: 25 grams henna powder (about 1/4 cup), 13 grams sugar (about 1.5 tsp), 7.5 ml essential oil (about 1.5 tsp) and approximately 1/4 cup water. We like to mix the dry ingredients together first, then add the water, and add the essential oil last. It blends better this way, but isn’t required. Mix together well. The paste should be pretty thick but all ingredients are blended thoroughly. If it’s too thick to blend, add a teeny bit of water (start with 1 tsp) and try mixing again. Repeat as needed. Don't worry about small lumps, those will mostly dissolve later.
Step 2
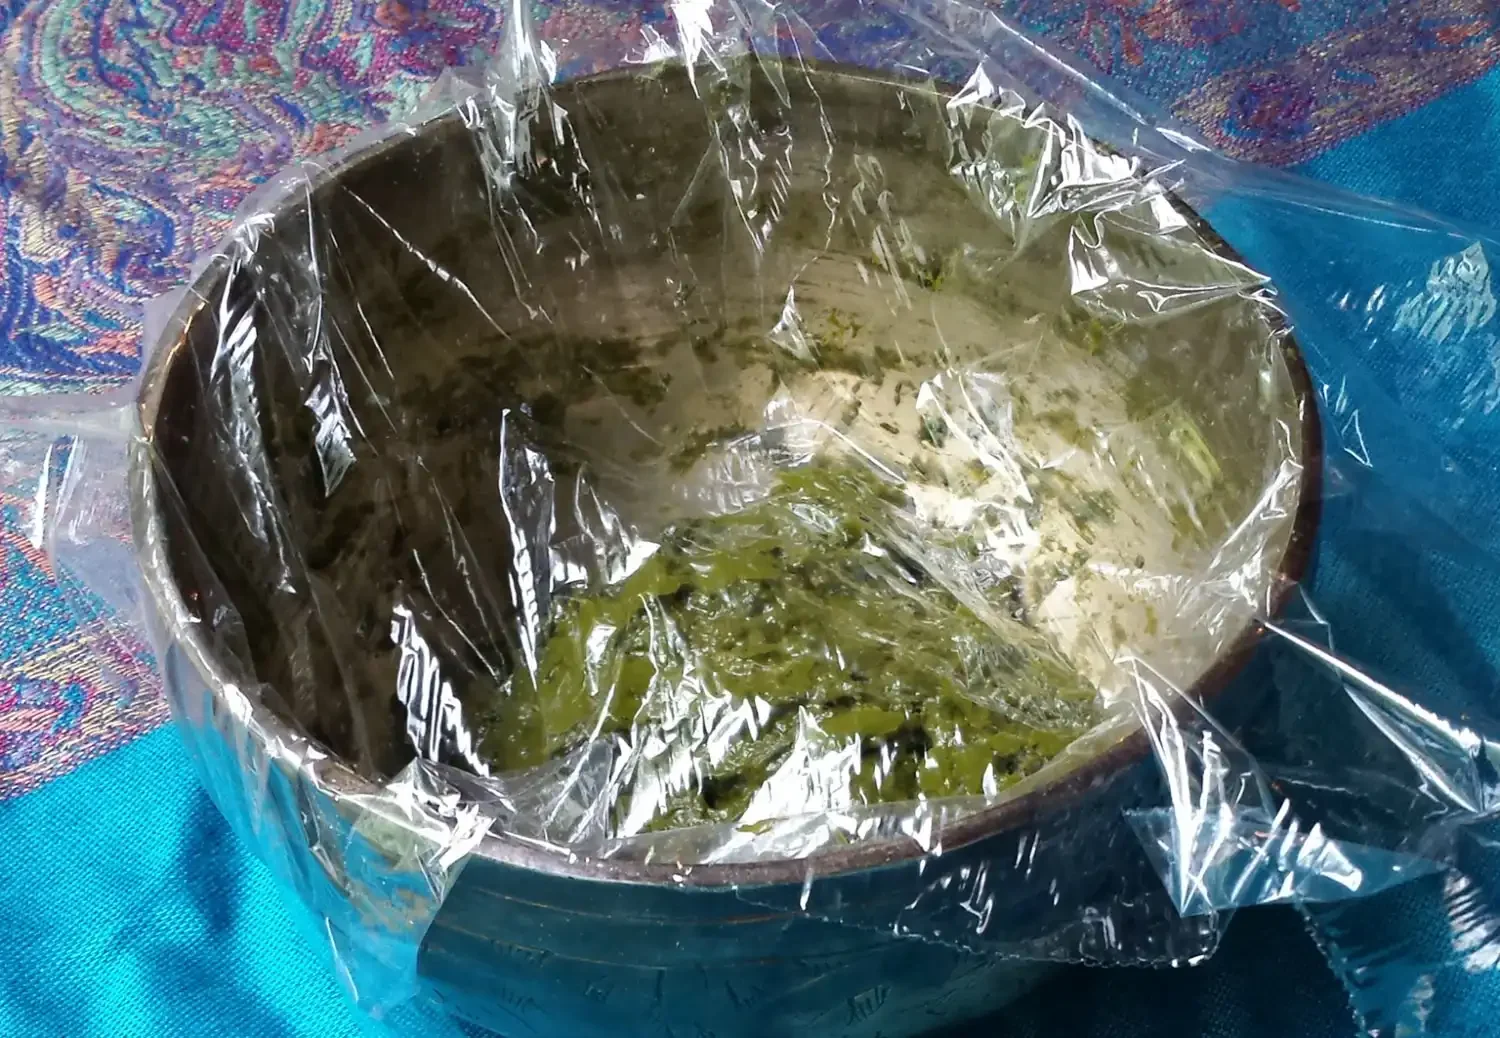
Cover with cling wrap. You don't have to be too careful about it - the idea is just to keep the henna from drying out.
Now, let it rest for a while.
If you want to use it the next day, just leave it out on your counter overnight.
If you want it ready faster, put it in a warm (not hot) location, such as the top of your fridge or sitting under a stove light. Use a thermometer to check the temp of the paste. Your goal is to keep it around 75-80˚ F. At that temperature, it’ll be ready in about 3-4 hours*.
* 3-4 hours is typical for Sūraja henna powder, but results may vary. If you're using powder from another supplier please check with them for their recommended resting times.)
Step 3
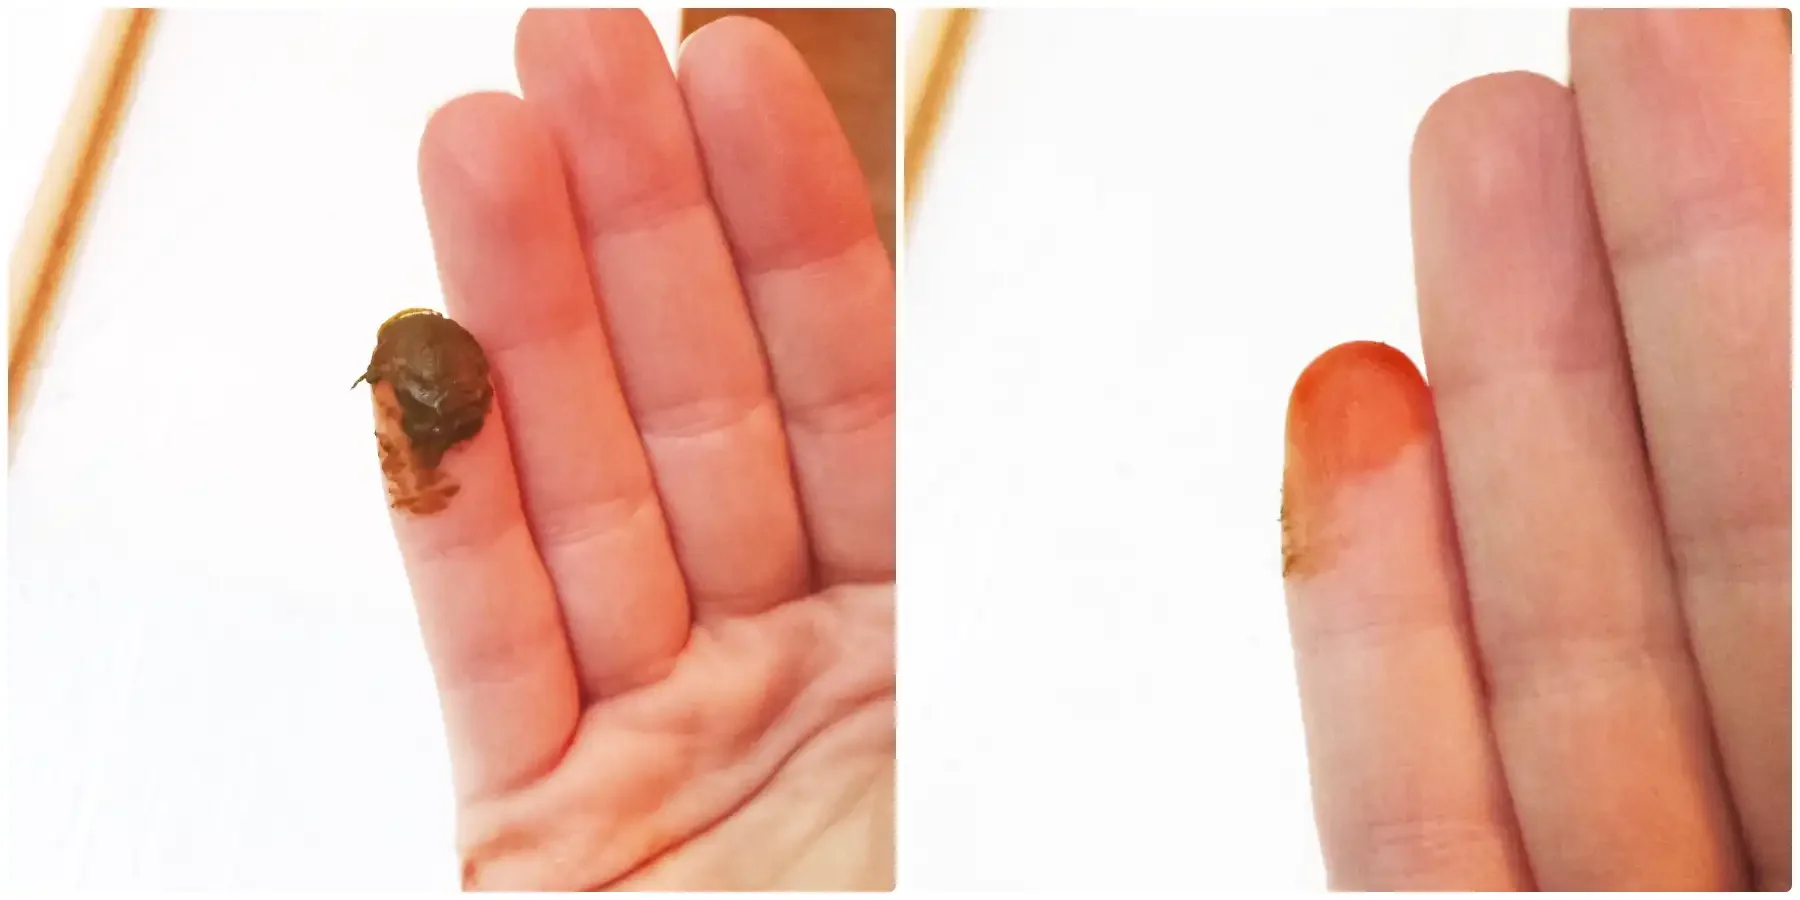
Check to see if your henna is ready with simple spot test.
Dab a bit of henna on your fingertip and leave it there for about a minute. When you wipe it away, in natural light it should be bright orange. If it's not, let it sit a bit longer and test it again in another hour.
Step 4
The henna is ready! Time to get it to the perfect consistency. Add a little water to the mixture, and stir it up really well. Continue to add water, 1 teaspoon at a time, with lots of mixing between each addition. More mixing = silkier paste! With practice, you'll get a feel for how thin you prefer your henna. You want it to be thin enough that it’s easy to use, but not so thin that it oozes everywhere when you make designs.
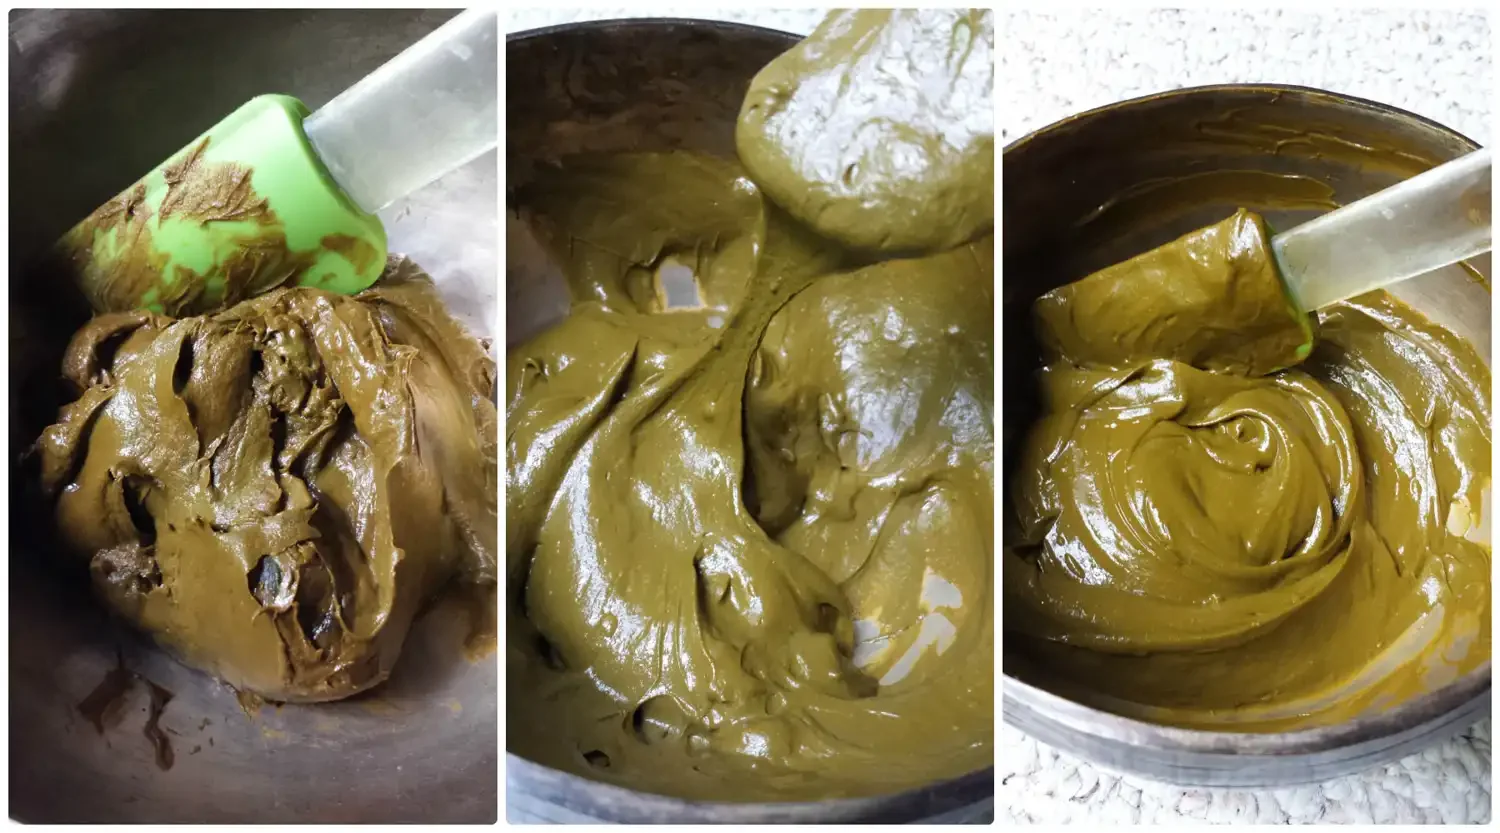
Here’s what you’re aiming for:
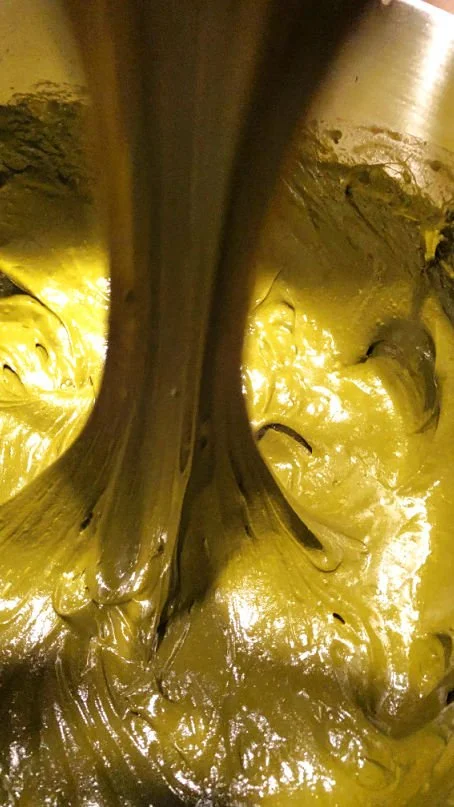
Congrats! You’ve made fresh, homemade henna!
Was this helpful? Leave a comment below or send us a message!